A garden bed is easier to plant when the main lines are visible before seed packets open. Measure the bed, mark the corners, pull a straight line, then place seeds or starts from a clear reference point.
This small setup step helps rows, paths, labels, watering lines, and transplant spots feel easier to follow once the soil work begins.
At a glance
Bed layout and row marking supplies at a glance
| Product | Use case | Pricing | Link |
|---|---|---|---|
| Komelon 6611 Open Reel Fiberglass Tape Measure 100 Feet | Measuring bed length, row runs, path widths, and temporary project lines | Seller pricing varies | View |
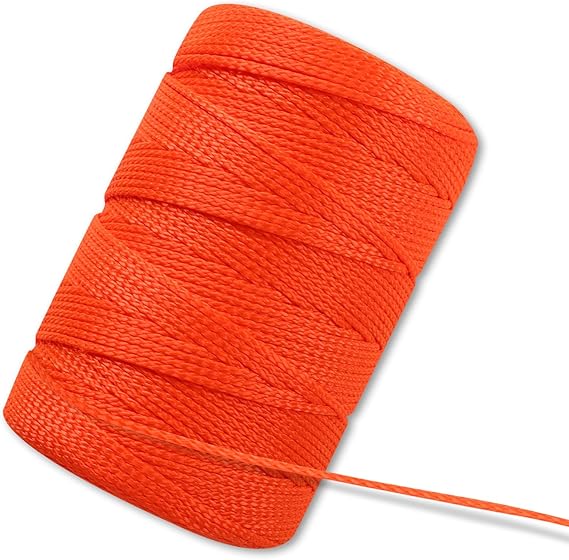
| Romeda Mason Line #18 Orange 500 Feet | Pulling visible temporary lines for rows, edges, trellis starts, and irrigation routes | Seller pricing varies | View |
| IRWIN STRAIT-LINE Flagging Tape Glo-Orange 150 Feet | Marking row starts, repair spots, plant groups, and short-term garden reminders | Seller pricing varies | View |
| Seeding Square Seed and Seedling Spacer Tool | Placing seeds and seedlings in a clear square-foot planting pattern | Seller pricing varies | View |
| Snurfado Wooden Plant Ruler Seed Spacing Tool | Marking seed and transplant spacing beside packets, labels, and row lines | Seller pricing varies | View |
Start with the bed measurements
Use a long tape to check the bed length, usable planting width, path edge, and any place where a hose, trellis, or row cover will need room. The Komelon 6611 open reel tape gives that step a 100-foot reach in a reel that can move around the yard.
Write the important numbers on a field card, notebook page, or plant label before the tape goes back in the shed. That keeps the measurements close when seed packets, stakes, and watering parts come out.
Pull a visible row line
A line gives the eye something steady to follow. Tie the Romeda orange mason line between stakes, pull it gently across the prepared bed, and use it as a guide for seed rows, drip tubing, trellis starts, or bed-edge checks.
Once the row is planted or marked, gather the line and move it to the next run. A temporary line keeps the layout clear without leaving extra material in the bed.
Mark temporary points with color
Some spots need a quick visual cue before a permanent label makes sense. The IRWIN Glo-Orange flagging tape can tie to a stake, cage, branch, or fence wire so the marked point is easy to find during the same garden session.
Use it for a row start, a drip repair, a new transplant group, or a bed edge that still needs a final pass. Remove the tape after the task is finished so the garden stays clean.
Use spacing tools after the line is set
Once the bed and row are visible, spacing tools help place seeds and starts. The Seeding Square turns a 12-inch section into a color-coded planting pattern. It is helpful in raised beds, herb beds, and compact vegetable plots.
The Snurfado wooden plant ruler gives gardeners a flat board with printed spacing marks. It can sit beside seed packets and labels while the gardener marks the next point along a row.
Keep notes and labels connected
Layout work is easier to repeat when the garden record stays close. The outdoor note-taking guide covers notebooks, pens, cards, pouches, and clipboards for field notes. The garden labels guide covers plant labels, marker pens, seed packet storage, and row marker habits.
For planting holes, the planting-hole tools guide shows how dibbers, bulb planters, augers, and transplanter trowels help move from spacing points to soil pockets.
For bulb groups, the bulb baskets, planting depth, and feeding guide ties row marks to basket pockets, depth checks, labels, and the first watering pass.
Bottom line
Measure the bed, pull a visible line, mark temporary points, and place seeds from a clear spacing guide. A few small layout tools can make planting day feel calmer and easier to repeat.
Where to check it
Open the bed layout and row marking reviews
These reviews cover measuring tape, mason line, flagging tape, and spacing tools for planting-day layout.